For an illustration video, please Watch Here.
Top Search Keywords: Projector mount installation, how to mount projector, projector setup guide, ceiling projector installation, projector screen alignment, connect projector HDMI, projector ceiling mount tips, projector installation tutorial.
This simple guide walks you through mounting a projector and connecting it to a video source. Follow all safety instructions and check your projector and mount manuals for model-specific details.
What You'll Need
- Projector (check weight and mount compatibility)
- Ceiling or wall mount rated for your projector
- Screwdriver, drill, and level
- HDMI cable (or other video cable like VGA/DisplayPort)
- Power cable and surge protector
- Stud finder (for ceiling/wall installations)
- A helper (recommended — mounting is safer with two people)
Step-by-Step: Mounting and Connecting
1. Plan the Location
Decide where the projector will go relative to the screen. Check the "throw distance" in your projector's manual to ensure the image fits the screen. Use a stud finder to locate ceiling joists for a secure installation.
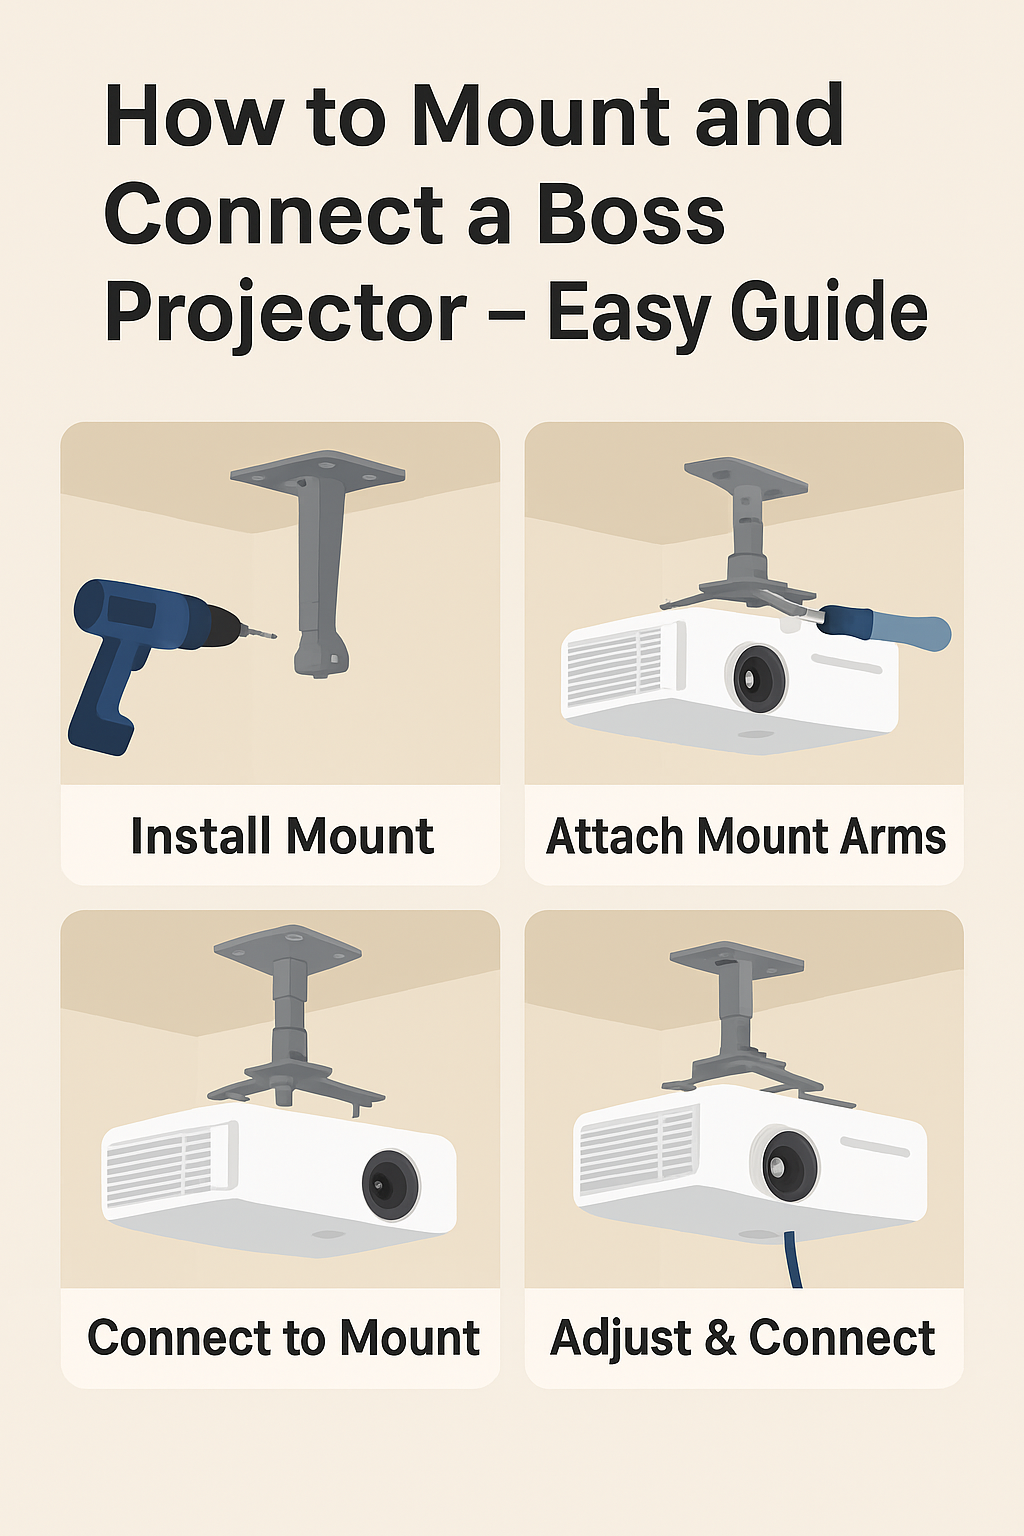
2. Install the Mount
Follow the mount manufacturer's instructions. Mark your holes, drill pilot holes into the joists, and attach the mount securely. Use a level to ensure it's perfectly straight.
3. Attach the Mounting Plate to the Projector
Most mounts have a plate that bolts to the projector's underside. Match the plate to your projector's mounting pattern and tighten the screws snugly, but don't over-torque them.
4. Lift and Secure the Projector
With a helper, lift the projector and hook it to the installed mount. Secure any safety screws or locking mechanisms. Ensure it's stable before letting go.
5. Route the Cables
Route your power and video cables neatly. If running cables through the ceiling or walls, follow local electrical codes. For visible routes, use cable covers for a clean finish.
6. Connect Video and Power
Plug the HDMI cable into the projector and your source (laptop, streaming device, etc.). Connect the power cable to the projector and a surge protector.
7. Power On and Align
Turn on the projector and your source device. Use the projector’s keystone correction, zoom, and lens shift features to align the image perfectly with your screen. Adjust the focus until the picture is sharp.
Troubleshooting & Useful Tips
- No image? Verify the correct input is selected on the projector and that your source device is outputting video.
- Poor image quality? Check the focus, clean the lens, and check the resolution settings on your source device.
- Audio missing? Many projectors don't have good built-in speakers. Connect your source directly to external speakers or an AV receiver for the best sound.